There are a number of different ways to publish your content from CADASIO, such as an online shareable link, images, pdfs and even videos.
Whilst Cadasio’s main role is to create 3D interactive presentations, there is still a place for 2D, so in this short article I’m going to explain the options available when you want to create a 2D output.
Quick Publish
If you want to capture a quick image of what you currently see on screen, whether you have saved it as a step or not, the fastest way to do this is by using the save image button to the bottom left hand corner of the scene.
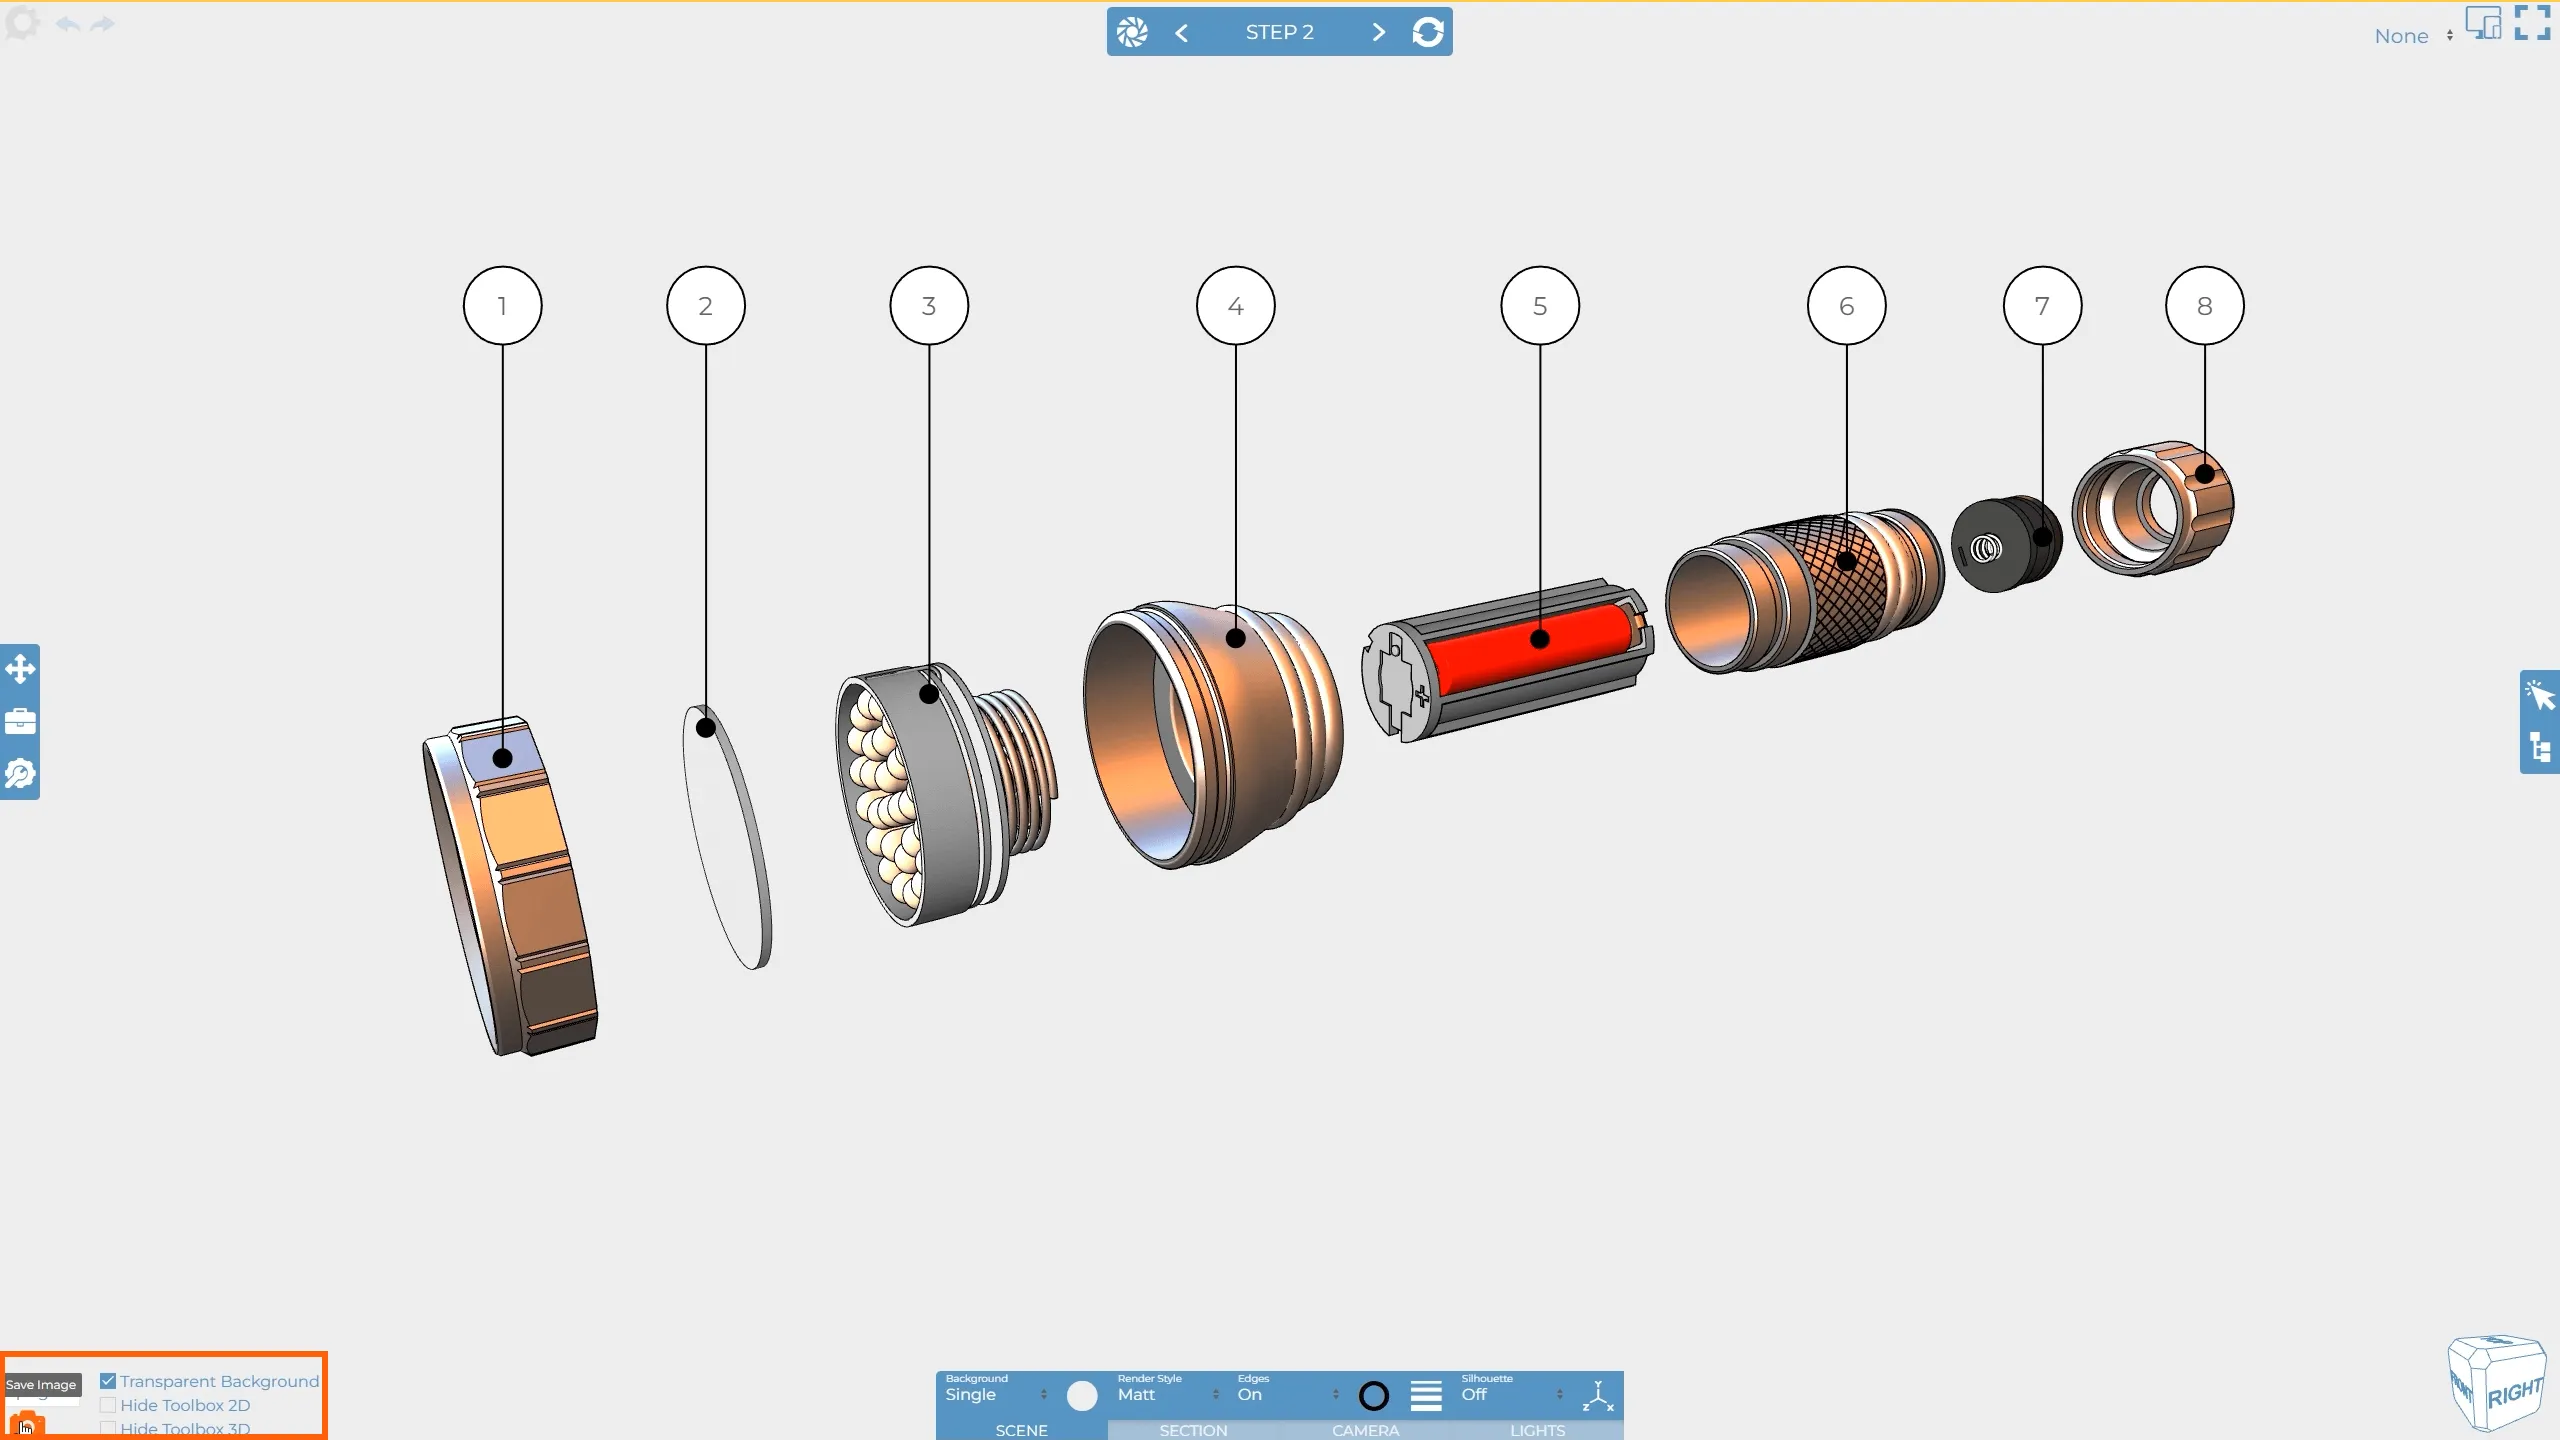
Hovering over the button will display options to control image type, as well as whether a transparent background is required, and whether or not toolbox items should be included.

Publish Images
Every time you create or update a step, a high quality image is captured for you. To publish all of your saved step images in bulk, you can use the ‘publish images’ button on the tools slide out menu.
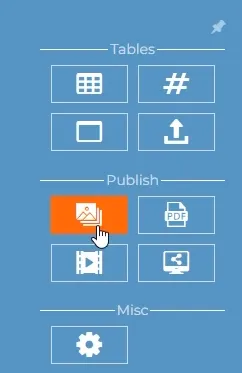
There are three options when publishing your steps to an image.
All - Publishes each step within your project as an individual image.
Range - Allows you to specify a start and end step for the images to be published.
Step X - Publish an individual step to a single image.
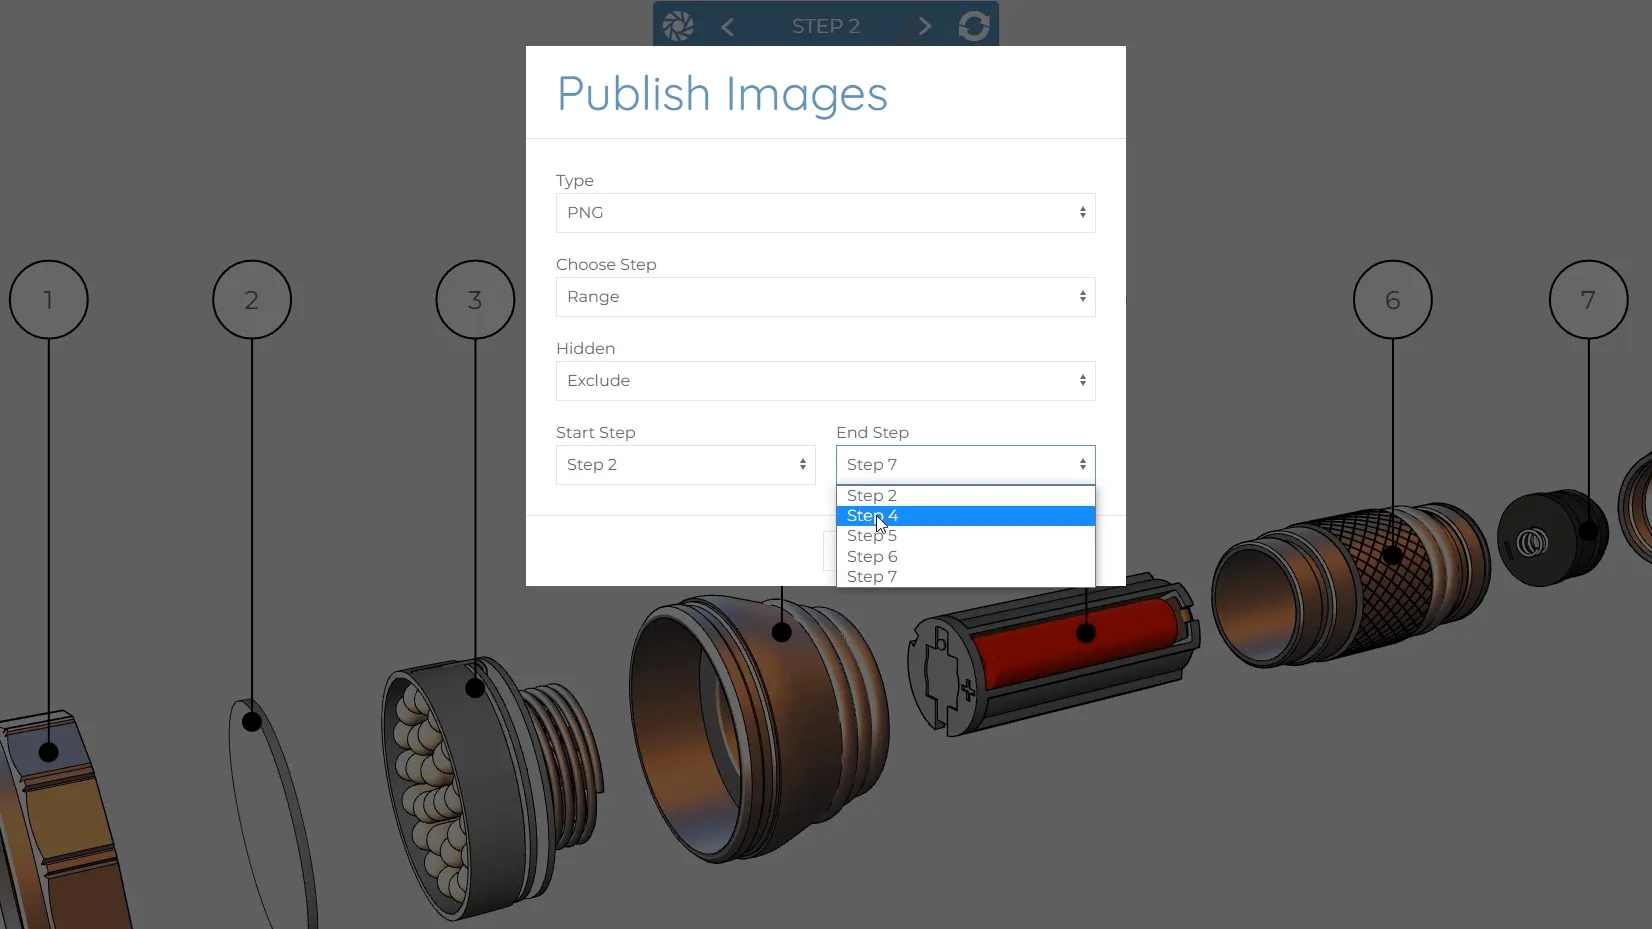
When All or Range is selected, you can choose whether hidden steps should be included or not too.
In order to publish your selected images, simply click the Save Image button. This will then download the images to your downloads folder for you to use elsewhere, such as in word processing, documentation and design tools.
Publish to PDF
Cadasio projects can be published directly to PDF and there are a range of options that can be controlled during a document’s creation.
When in the designer, press the publish ‘PDF button’, located in the publish area of the ‘slide out Tools menu’.
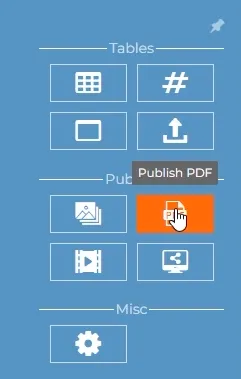
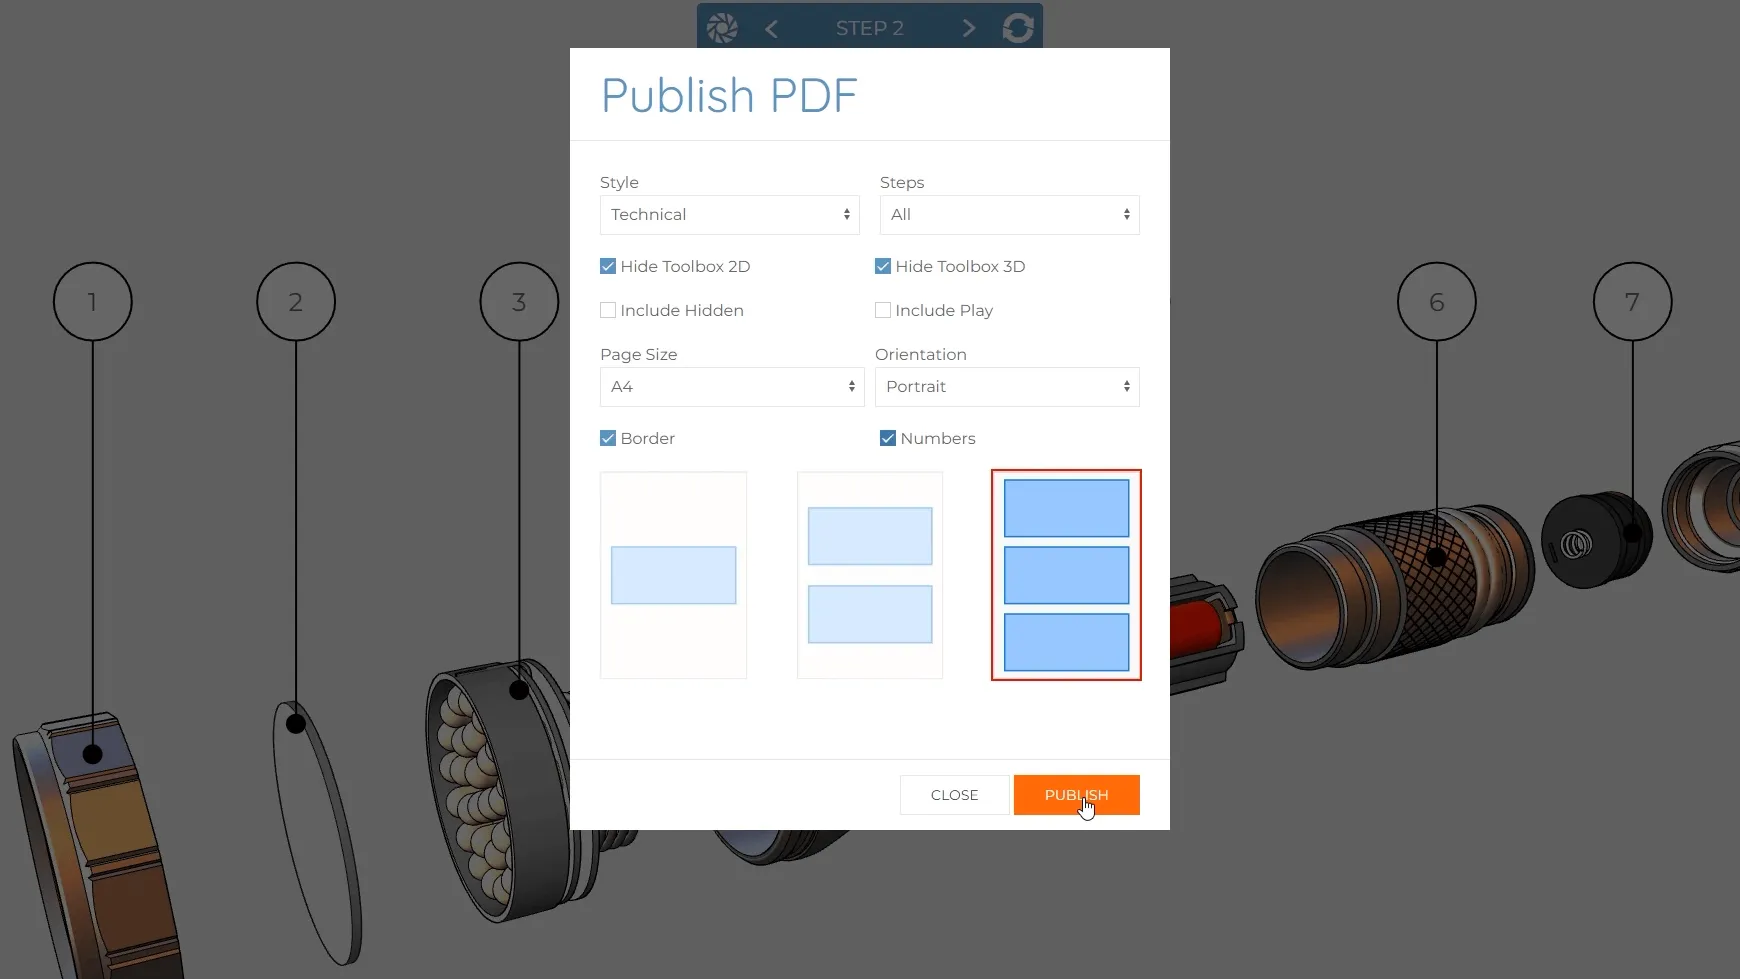
A new window appears where you can set the required options. The first drop-down controls style and there are 3 options. Default will use the saved images already created for each step or you can create new images in the ‘technical’ or ‘technical with shadows’ style. When either of the technical styles are set, additional options to hide both 2D and 3D toolbox items appear. You are also able to choose all the steps within the project, a range of steps, or specific steps to be included. Often you may not want hidden or play steps to be included in the final output so you can choose whether to include them or not. The required paper size and orientation, layout, and whether a border or step numbers are required can all be chosen and when you are happy simply click publish, and a pdf will be generated and downloaded.
