It’s amazing to see the variety of industries using Cadasio to modernise their technical documentation. Each company has their own style, method of working and unique way of utilising the ever-increasing range of tools available.
As with any software though, it’s easy to become complacent and settle into a single workflow or style. We recently got asked how to create a stunning blue tinted technical style so we thought it would be useful to do a quick tip running through how to create this style, which you can replicate to help mix up your projects.
When we originally imported the file in came in looking like this:
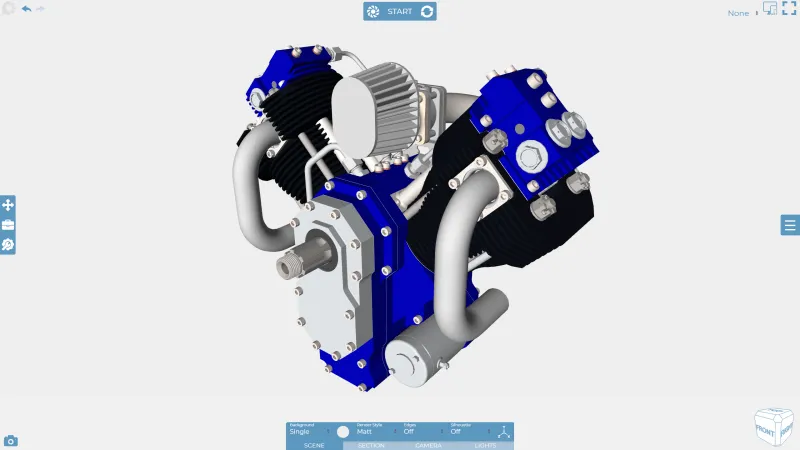
As you can see, it's using the default render style of "Matt", the edges are missing and the parts are coloured. In case you are wondering, the colours that the parts have set have all been brought across from the original CAD system. The first thing to do is to set the render style.
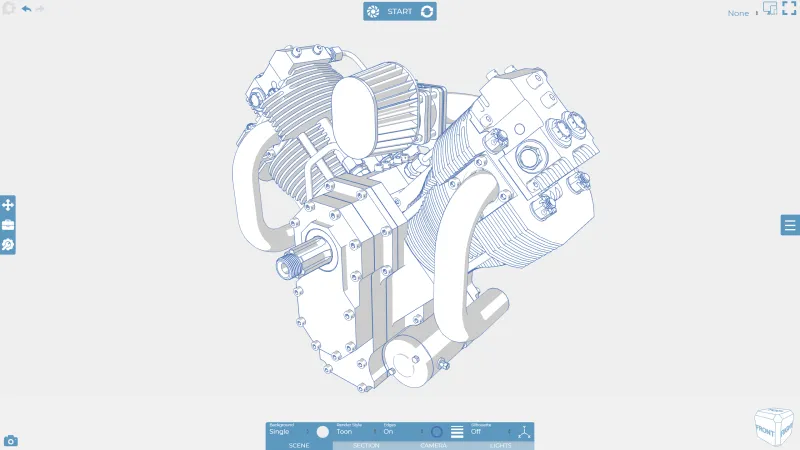
Cadasio has a selection of render styles at hand, including, metallic, glossy, technical and flat, but to achieve this blue tinted look we used ‘Toon.’ The Toon render style is very similar to the Flat, however unlike Flat, which is not affected by light at all, the Toon render style will be and as a result gets a very simple shadow applied. This is a great way of creating a technical look, but with a bit of depth to it. If nothing is selected in the viewport, the entire step will inherit that render style. If you have a single part or a subset of parts selected, the render style will only apply to those selected.
The next step is to ensure that you have the edges enabled. Again this can be done on the Scene and all the parts will be affected. For this example, set the thickness to 1.2 and the edge colour to #4a72b4.
We have also removed all other colour from the model by setting the part colours to white. To do this, select everything in the viewport either by dragging a selection box, using ctrl+A, or by using the select all filter from the selector which you can find on the right hand side. Make sure colour on the Property Bar CAD tab is set to #000000.
Quick Tip – If you have toolbox items visible within the step when you prompt ‘Ctrl+A’ or ‘Select All’ you will find that they get selected to. To disable this selection, head over to the selector menu and un tick ‘Include Toolbox’ from the selection scope and then prompt select all again.
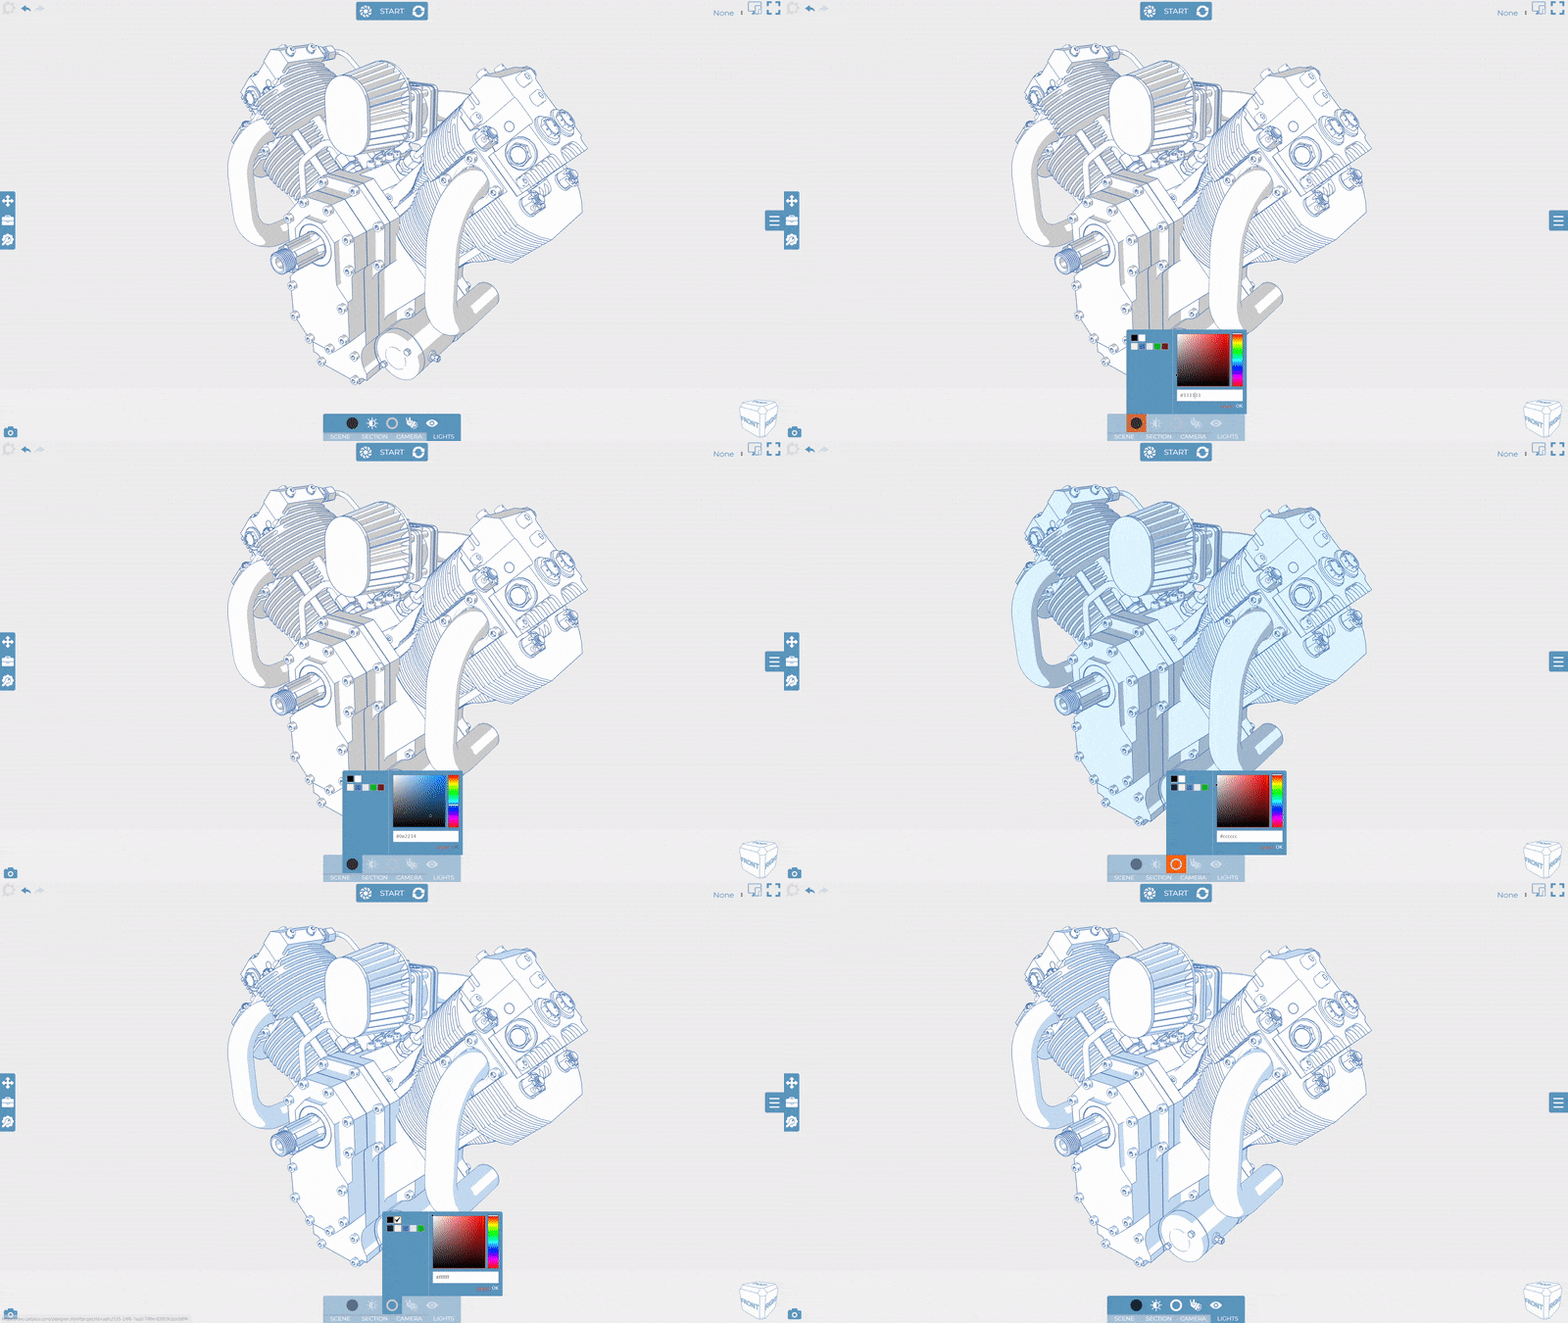
The model is now looking really good, but for the final step we need to address the shading to achieve that blue tint. Head over to the Lights Tab on the Property Bar and adjust the ambient colour. Set this to a dark blue #0e2234. The entire model will at this stage look very blue, so also modify the directional light colour, and make sure this is set to white #000000.
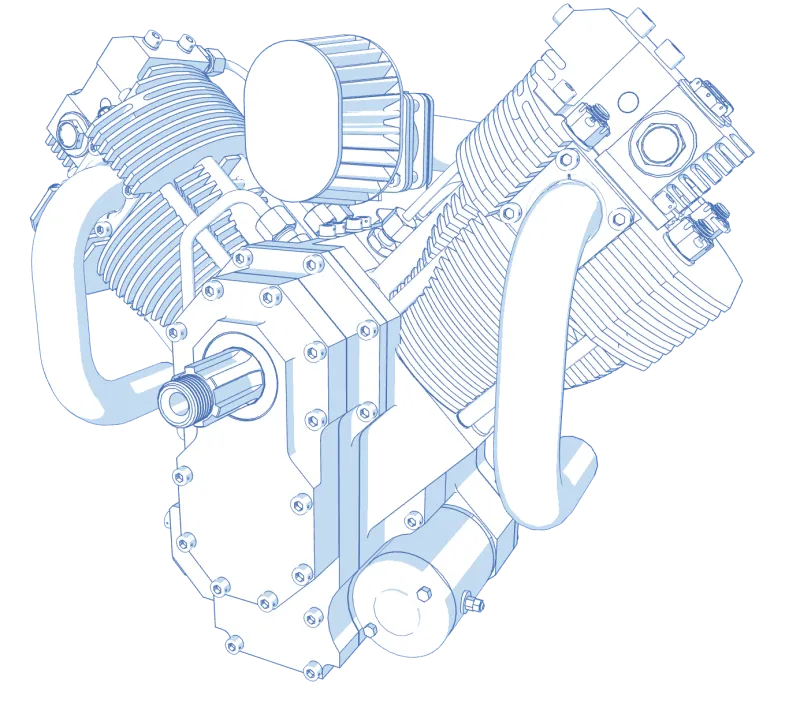
And there you have it, an incredible, stylish blue tinted render style that you and your customers can enjoy whilst navigating your online service and instruction manuals.
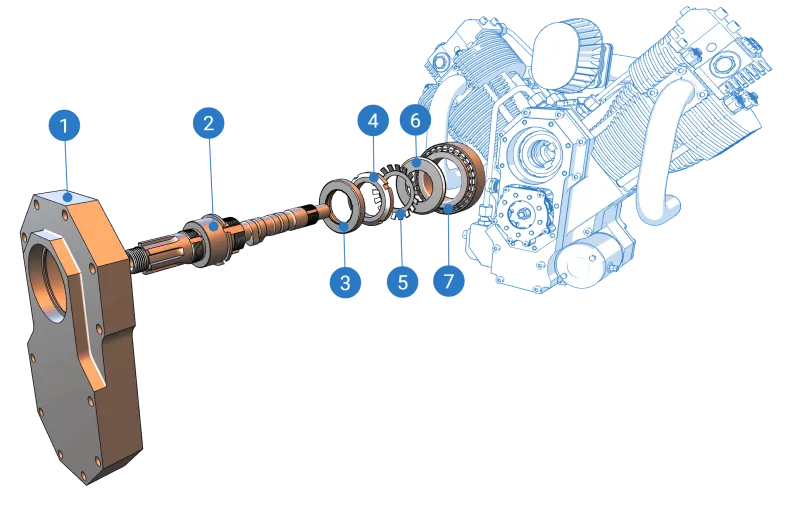
Quick Tip - Why not even mix and match render styles, using a bold solid render for the ‘in focus’ parts of the step? To achieve this, simply select the parts that you would like to be different and toggle their render style from the Property Bar. You can also modify the colour and edge colour whilst you still have them selected!

.jpg)


